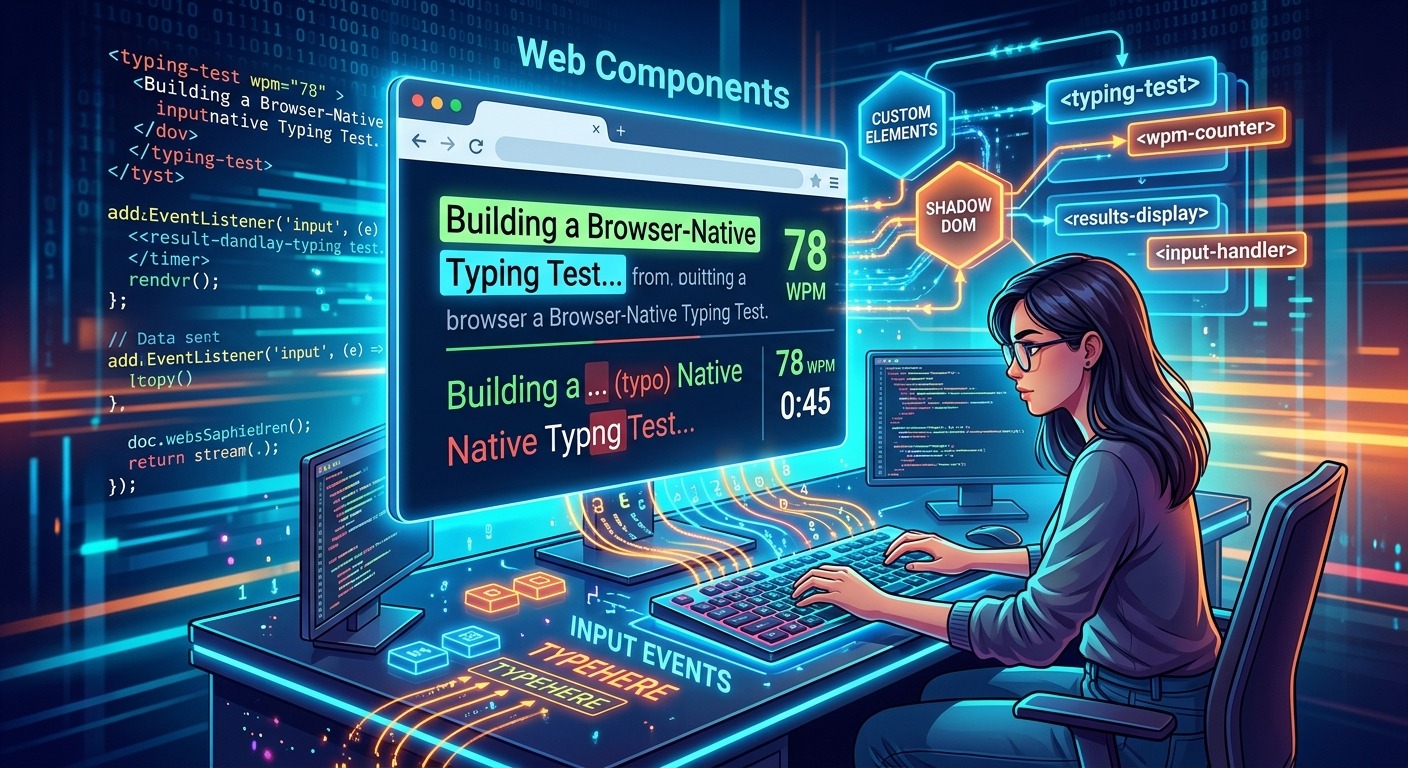
Most typing speed tools are framework-specific, single-use scripts. They work until a dependency update breaks them, then they take your whole build with them. Building a typing accuracy component as a custom element flips that dynamic entirely. You get a unit the browser itself understands, complete with scoped styles, a clean public API, and zero framework opinions. Pair it with the InputEvent API and you can track every character-level insertion and deletion in real time, with a precision that keydown alone never offered.
What This Walkthrough Builds
- A
<typing-test>custom element with Shadow DOM encapsulation and zero external dependencies. - Character-level accuracy tracking powered by
InputEvent.inputType, separating insertions from deletions for precise scoring. - A
typing-resultcustom event that surfaces per-character timing data, making the component composable with any analytics or UI layer.
Why Custom Elements Fit This Problem
A typing test component has a specific lifecycle. It mounts, accepts a target string, waits for the user to type, and then produces a result. That lifecycle maps naturally onto the custom element callbacks: connectedCallback to initialize, attribute changes to reconfigure, and a custom event to report results. The component boundary is real and explicit, not a convention you enforce manually.
Shadow DOM adds something genuinely useful here. The component wraps an editable region, a prompt display, and a progress indicator. Without encapsulation, your host page’s CSS inevitably bleeds in. With Shadow DOM, the styles you write inside the component stay inside it. No specificity battles. No accidental inheritance from a third-party stylesheet.
The browser’s custom element registry also means you can use <typing-test> in plain HTML, in React, in Vue, or in a Svelte template. The component speaks DOM, so the framework wiring is just attribute binding and event listening.
Defining the Element and Attaching a Shadow Root
The foundation is straightforward. You extend HTMLElement, attach a shadow root, and stamp your template into it inside connectedCallback.
class TypingTest extends HTMLElement {
  #shadow;
  #prompt = '';
  #typed = '';
  #timings = [];

  constructor() {
    super();
    this.#shadow = this.attachShadow({ mode: 'open' });
  }

  connectedCallback() {
    this.#prompt = this.getAttribute('prompt') ?? '';
    this.#render();
    this.#shadow
      .querySelector('[data-input]')
      .addEventListener('input', this.#onInput);
  }

  #render() {
    this.#shadow.innerHTML = `
      <style>
        :host { display: block; font-family: var(--tt-font, monospace); }
        [data-prompt] { color: var(--tt-prompt-color, #6b7280); }
        [data-input] { width: 100%; border: none; outline: none; background: transparent; }
      </style>
      <div data-prompt></div>
      <textarea data-input rows="3"></textarea>
    `;
    this.#shadow.querySelector('[data-prompt]').textContent = this.#prompt;
  }
}
The custom elements standard requires you to call customElements.define('typing-test', TypingTest) after the class definition. Keep that call at module scope, not inside a function, so the registry update happens predictably at parse time.
Granular Keystroke Tracking with the InputEvent API
The input event fired on a textarea gives you the current value, but it does not tell you what changed. The InputEvent subtype does. Every input event on a contenteditable or form control carries an inputType string that describes the mutation precisely. insertText covers standard typing. deleteContentBackward fires on backspace. deleteWordBackward fires when the user holds a modifier and deletes a whole word. Each type maps to a distinct scoring decision.
Insertions and Deletions as Separate Signals
A naive accuracy score compares the final typed string to the prompt. That misses everything. The user might have mistyped and corrected, or typed perfectly the first time. Tracking insertions and deletions separately lets you build a richer model.
#onInput = (event) => {
  const { inputType, data } = event;
  const now = performance.now();

  if (inputType === 'insertText' && data) {
    const expected = this.#prompt[this.#typed.length] ?? '';
    this.#timings.push({
      char: data,
      expected,
      correct: data === expected,
      timestamp: now,
    });
    this.#typed += data;
  }

  if (inputType.startsWith('delete')) {
    this.#typed = this.#typed.slice(0, -1);
    this.#timings.pop();
  }

  this.#checkComplete();
};
The Input Events Level 2 spec defines the full set of inputType values. Browser support for the complete list varies, so defensive fallbacks on unknown types keep the component robust without breaking the happy path.
Punctuation Is Where Real Accuracy Gaps Appear
Developers drill words and sentences. They rarely drill symbols. Semicolons, parentheses, angle brackets, curly braces, and pipes are the characters you type constantly in code, but they almost never appear in a standard typing exercise. The gap between your speed on prose and your speed on syntax is usually wide.
Before wiring up your component’s scoring logic, calibrating against a focused punctuation typing test gives you a concrete personal baseline. You will see immediately where your fingers hesitate on the shift key and which symbols cost you the most time. That baseline becomes the benchmark your component’s per-character timing output is measured against.
Inside the component, punctuation requires no special-casing at the event level. InputEvent treats a typed semicolon the same way it treats a typed letter. The difference shows up in your timing data, not in the event handling. Characters with higher average latency in your timings array are the characters worth surfacing to the user as accuracy targets.
Scoping Styles Inside the Shadow Root
One of the quieter wins of Shadow DOM is how it handles the editable region. A textarea inside a shadow root is immune to host-page resets and form library overrides. You do not need to defensively specify every property. Write the minimum, and the shadow boundary holds the rest.
The :host selector targets the custom element from inside the shadow root. That is where you expose layout properties the embedding page should control, like display, width, and max-width. Properties that are purely internal stay in component-scoped rules and never leak.
:host {
  display: block;
  max-width: var(--tt-max-width, 640px);
  padding: var(--tt-padding, 1rem);
  border-radius: var(--tt-radius, 8px);
  background: var(--tt-bg, #ffffff);
  border: 1px solid var(--tt-border, #e5e7eb);
}
The shadow root also isolates :focus-visible behavior. The textarea’s focus ring is styled inside the component without conflicting with the host page’s global focus styles. Users navigating with a keyboard get a consistent experience regardless of which design system the parent page uses.
Theming the Component with CSS Custom Properties
CSS custom properties pierce the shadow boundary. That makes them the right tool for theming. Your component defines fallback values for every visual token, and the embedding page overrides only what it needs.
/* host page */
typing-test {
  --tt-font: 'JetBrains Mono', monospace;
  --tt-bg: #0f172a;
  --tt-prompt-color: #94a3b8;
  --tt-correct-color: #4ade80;
  --tt-error-color: #f87171;
  --tt-border: #1e293b;
}
Name your tokens with a component prefix to avoid collision. The two-letter prefix pattern (--tt-) is short and collision-resistant. Document the token surface in a comment block inside the shadow stylesheet. That way anyone consuming the component has the full theming API without reading the source.
You can also use @layer inside the shadow root to organize component-internal styles. Cascade layers do not cross the shadow boundary, but using them internally keeps the component’s own styles predictable as it grows.
Dispatching Per-Character Timing as a Custom Event
When the user finishes typing the full prompt, the component should emit everything it collected. A CustomEvent with a structured detail payload is the right carrier. Keep the event name lowercase and hyphenated to follow the DOM convention.
#checkComplete() {
  if (this.#typed.length < this.#prompt.length) return;

  const accuracy =
    this.#timings.filter(t => t.correct).length / this.#timings.length;
  const totalTime =
    this.#timings.at(-1).timestamp - this.#timings[0].timestamp;

  this.dispatchEvent(new CustomEvent('typing-result', {
    bubbles: true,
    composed: true,
    detail: {
      accuracy,
      totalTime,
      timings: structuredClone(this.#timings),
    },
  }));
}
The composed: true flag matters. Without it, the event stops at the shadow boundary and never reaches the host page. With it, the event bubbles through shadow roots all the way to the document. Any listener in any layer of the page can respond to the result without knowing about the component internals.
The timings array in the event detail is what makes this component genuinely composable. Consumers can build word-level heatmaps, per-character latency charts, or drill recommendations, all from the same raw data the component already collected. The component stays focused on input handling and does not need to know what happens downstream.
A few things to keep in mind when consuming this event from a parent component or framework wrapper:
- Clone before mutating. The
structuredClonecall in the dispatch gives consumers their own copy, but treat it as immutable in your consumer code anyway. - Timestamp origin. The
timestampvalues come fromperformance.now(), which gives sub-millisecond precision but is origin-relative. If you compare timings across sessions, store the absolute start time alongside the array. - Normalize by prompt length. A 20-character prompt and a 200-character prompt produce timing arrays of very different sizes. Aggregate per-character averages rather than raw totals when comparing runs.
A Component That Carries Its Own Weight
A <typing-test> custom element built this way earns its place in your stack because it has no hidden dependencies. No bundler plugin. No peer dependency. No JSX transform. Drop the module into a project, call customElements.define, and the element is live. The Shadow DOM boundary means it cannot break your existing styles. The custom event interface means it can feed data to anything.
The InputEvent API does the heavy lifting on tracking. The precision it gives you over raw keydown handling translates directly into more honest accuracy scores, because you are measuring what the user actually produced, not what keys they pressed. That distinction matters most on the characters that trip people up: the symbols, the edge cases, the moments where muscle memory breaks down under pressure.
Per-character timing data, surfaced through a composed custom event, turns the component from a demo into a measurement instrument. Feed it to a visualization layer and you have a tool for identifying exactly which characters to target in practice. Build a wrapper that persists the timings to a backend and you have longitudinal tracking with zero changes to the component itself. That composability is what makes the custom element model worth the upfront investment, and why browser-native solutions keep outpacing their framework-specific counterparts on long-lived projects.