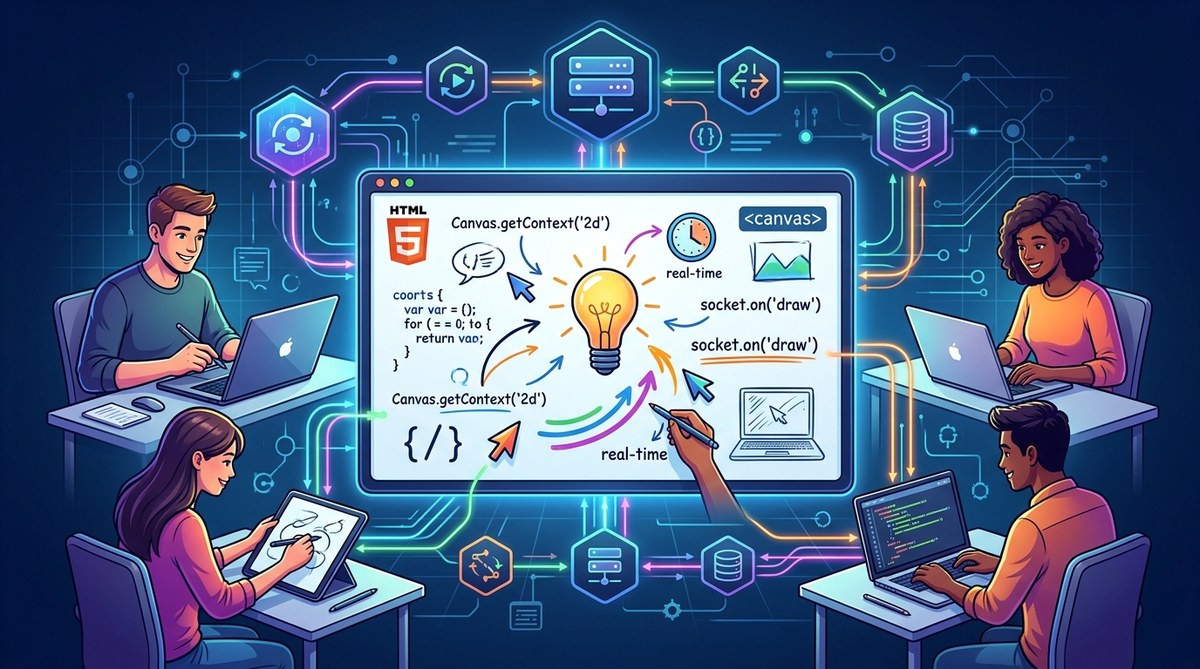
Collaboration tools have transformed how teams work together online. Whiteboarding sessions that once required a physical room now happen across continents. If you have wanted to build your own real-time collaborative whiteboard, you understand the challenge: low latency drawing, conflict free state, and a smooth user experience. This guide walks through the architecture, code, and patterns you need.
This tutorial delivers a production ready approach to building a real-time collaborative whiteboard. You will learn how to pair HTML5 Canvas with WebSocket connections, manage drawing state across clients, handle reconnection gracefully, and avoid common synchronization bugs. By the end, you will have a working prototype and a clear mental model for scaling it.
Why WebSockets and Canvas Work Together
A collaborative whiteboard needs two things: a drawing surface and a way to share strokes instantly. The HTML5 Canvas element gives you a pixel based drawing board. WebSockets provide persistent, bidirectional communication between browser and server. Unlike HTTP polling, WebSockets keep a connection open so every mouse movement can become a message.
This pairing works because Canvas is stateless. It renders whatever you tell it to draw. The server becomes the source of truth. When a user draws a line, the client sends the coordinates and brush settings to the server. The server broadcasts those instructions to every other connected client. Each client then renders the exact same stroke.
Setting Up the WebSocket Server
Start with a lightweight server. Node.js with the ws library works well. You could also use Deno or Go, but JavaScript on both ends keeps the mental model consistent.
const WebSocket = require('ws');
const server = new WebSocket.Server({ port: 8080 });

const rooms = {};

server.on('connection', (socket) => {
  let currentRoom = null;

  socket.on('message', (data) => {
    const message = JSON.parse(data);

    switch (message.type) {
      case 'join':
        currentRoom = message.room;
        if (!rooms[currentRoom]) rooms[currentRoom] = [];
        rooms[currentRoom].push(socket);
        // Send existing state to the new client
        socket.send(JSON.stringify({
          type: 'state',
          strokes: rooms[currentRoom].strokes || []
        }));
        break;
      case 'draw':
        if (currentRoom) {
          rooms[currentRoom].strokes.push(message.stroke);
          broadcast(currentRoom, message, socket);
        }
        break;
      case 'clear':
        if (currentRoom) {
          rooms[currentRoom].strokes = [];
          broadcast(currentRoom, { type: 'clear' }, null);
        }
        break;
    }
  });

  socket.on('close', () => {
    if (currentRoom && rooms[currentRoom]) {
      rooms[currentRoom] = rooms[currentRoom].filter(s => s !== socket);
    }
  });
});

function broadcast(room, message, exclude) {
  rooms[room].forEach(client => {
    if (client !== exclude && client.readyState === WebSocket.OPEN) {
      client.send(JSON.stringify(message));
    }
  });
}
This server handles room management, state storage, and message routing. Each room holds an array of strokes. When a new user joins, they receive the full history. That is how late joiners see the whiteboard as it already exists.
Building the Canvas Client
On the client side, you need a Canvas element and mouse event handlers. Track the pointer position, brush size, and color. When the user draws, send those coordinates to the server.
const canvas = document.getElementById('whiteboard');
const ctx = canvas.getContext('2d');
const ws = new WebSocket('ws://localhost:8080');

let drawing = false;
let currentRoom = 'room-1';

ws.onopen = () => {
  ws.send(JSON.stringify({ type: 'join', room: currentRoom }));
};

ws.onmessage = (event) => {
  const message = JSON.parse(event.data);
  if (message.type === 'state') {
    message.strokes.forEach(stroke => renderStroke(stroke));
  } else if (message.type === 'draw') {
    renderStroke(message.stroke);
  } else if (message.type === 'clear') {
    ctx.clearRect(0, 0, canvas.width, canvas.height);
  }
};

canvas.addEventListener('mousedown', (e) => {
  drawing = true;
  // Start a new stroke
  currentStroke = {
    points: [{ x: e.offsetX, y: e.offsetY }],
    color: currentColor,
    width: currentWidth
  };
});

canvas.addEventListener('mousemove', (e) => {
  if (!drawing) return;
  const point = { x: e.offsetX, y: e.offsetY };
  currentStroke.points.push(point);
  // Draw locally for immediate feedback
  drawLine(ctx, currentStroke.points, currentStroke.color, currentStroke.width);
});

canvas.addEventListener('mouseup', () => {
  if (!drawing) return;
  drawing = false;
  ws.send(JSON.stringify({
    type: 'draw',
    stroke: currentStroke,
    room: currentRoom
  }));
});
Notice the pattern. Draw locally first, then send to the server. This eliminates perceived latency. The server broadcasts to others. If the server sends the same stroke back, you could double render. That is why the broadcast function accepts an optional exclude parameter. The sender does not need to re render what they already drew.
Handling State Synchronization
State synchronization is the hardest part of any real-time collaborative whiteboard tutorial. You must decide what to store and when to send it.
Here is a breakdown of common approaches and their trade offs.
| Approach | Latency | Bandwidth | Complexity | Best For |
|---|---|---|---|---|
| Stroke level (each line is one message) | Low | Low | Low | Simple drawing apps |
| Point level (every mouse move sends data) | Very low | High | Medium | Smooth handwriting |
| Image diff (send compressed canvas regions) | Medium | Very low | High | Large canvases with many strokes |
| Operation based (send draw commands like “line from x1,y1 to x2,y2”) | Low | Medium | Medium | Vector based whiteboards |
For most collaborative whiteboards, stroke level messaging offers the best balance. Each stroke is a complete unit. If a user draws a line, the server stores that entire stroke as one object. When a new user joins, you replay all stored strokes. This approach avoids the complexity of operational transforms while still feeling responsive.
Common Mistakes and How to Avoid Them
Building a real-time collaborative whiteboard comes with pitfalls. Here are the most frequent ones and their solutions.
- Sending raw image data. Do not send base64 encoded canvas snapshots every frame. The bandwidth cost is too high. Send coordinates and drawing instructions instead.
- Ignoring connection drops. Users will lose Wi-Fi. Store the current stroke in a buffer on the client. When the WebSocket reconnects, replay the buffer and request the latest server state.
- Rendering on the wrong thread. Canvas operations should happen on the main thread. If you process incoming WebSocket messages in a callback that blocks, the UI will stutter. Batch incoming strokes and process them in a render loop.
- Forgetting to scale for retina displays. Canvas coordinates do not automatically match device pixels on high DPI screens. Multiply coordinates by
window.devicePixelRatioor set the canvas size to match the CSS size multiplied by the ratio.
One rule of thumb: treat the server as the authority for what the board looks like, but let the client render immediately for the local user. This gives you both speed and consistency.
Adding Undo and Redo
Undo is a requested feature for any whiteboard. With a collaborative app, undo becomes tricky. If user A undoes a stroke, should user B see that stroke disappear? Yes, but only if user A was the author of that stroke.
Store the user ID with each stroke object. When a client sends an undo command, include the stroke ID. The server removes that stroke from the history and broadcasts a “delete” event. Every client then re renders the entire canvas from the updated stroke list, or removes that specific stroke from their local array and redraws.
case 'undo':
  const strokeToRemove = rooms[currentRoom].strokes.find(
    s => s.id === message.strokeId && s.userId === message.userId
  );
  if (strokeToRemove) {
    rooms[currentRoom].strokes = rooms[currentRoom].strokes.filter(
      s => s.id !== message.strokeId
    );
    broadcast(currentRoom, { type: 'delete', strokeId: message.strokeId }, null);
  }
  break;
Redo works the same way but reinserts the stroke. Keep a separate stack of undone strokes per user. Only the original author can redo their own strokes.
Performance Optimizations for 2026
Browsers and networks have improved, but a whiteboard with dozens of concurrent users still needs care.
-
Use binary frames for coordinate data. WebSockets support binary frames. Convert your array of points into a binary buffer using
Float32ArrayorInt16Array. This reduces message size by up to 60 percent compared to JSON. -
Throttle point sampling. Most mouse sensors report at 1000 Hz. You do not need every point. Sample at 60 points per second. The human eye cannot perceive the difference, and your server will thank you.
-
Compress the state for late joiners. When a new user connects, the server sends the full stroke history. For a long session, this could be thousands of strokes. Compress the JSON with zlib before sending. The
wslibrary supports permessage deflate. -
Use a spatial index for eraser tools. If your whiteboard supports erasing parts of strokes, store strokes in an R tree or grid based index. This lets you find intersecting strokes without iterating every object.
For more on optimizing front end performance, read our guide on how to optimize web performance with modern JavaScript techniques.
Testing Your Collaborative Whiteboard
Test with at least three browser windows open. Draw in one and watch the others. Common issues appear only with multiple clients.
- Open two windows as user A and user B. Draw a stroke with A. Does it appear on B? Now draw with B. Does A see it? This validates bidirectional sync.
- Disconnect user B by turning off Wi-Fi. Draw with A. Reconnect B. Does B see the missing strokes? This tests state replay.
- Have both users draw at the exact same time. Do any strokes get lost? If the server uses an array push without locks, messages can interleave. Use a simple sequence number per room to order strokes.
If you are working with a larger team, consider reading about how to build a collaborative text editor with CRDTs and WebSockets. The conflict resolution patterns translate well to whiteboard applications.
Scaling Beyond the Basics
Once your prototype works, you might want to add features.
- Cursor presence. Show where other users are drawing. Send cursor position messages at a lower frequency (every 100 ms) to keep latency low.
- Layer support. Store strokes with a z index. Let users reorder layers. This makes the whiteboard useful for diagramming.
- Export to SVG. Convert stored strokes into SVG elements. Users can download their work as a vector file.
- Room persistence. Store room state in Redis or a database. This lets users return to a board after closing the browser.
Each of these features builds on the same foundation: WebSockets for transport, Canvas for rendering, and a server that stores strokes as immutable objects.
What You Should Build Next
You now have the core pieces for a real-time collaborative whiteboard tutorial that actually works. The server handles rooms and stroke history. The client draws locally and sends updates. State synchronization is handled through stroke level messaging.
The next step is to deploy it. Use a WebSocket compatible hosting service or run your own server on a VPS. Add authentication if you want private rooms. Then share the URL with a colleague and draw together.
Building collaborative tools is one of the most rewarding challenges in web development. You get to solve real human problems: how do people work together when they are not in the same room? The patterns you learned here apply to many other real-time apps, from design tools to multiplayer games. Take this foundation and make it your own. Your team will thank you.