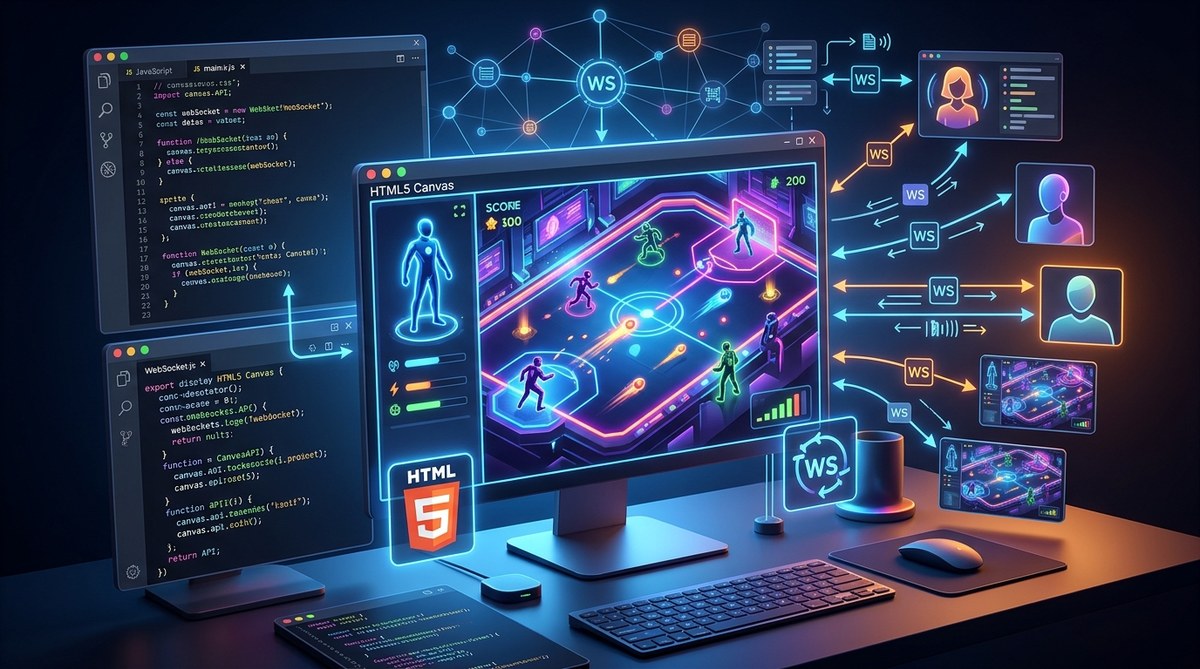
Opening paragraph:
You have the idea for a browser game where two players can see each other move in real time. No page refreshes. No polling the server every second. Just smooth, low-latency action that feels like a local game. That is exactly what you can build with WebSockets and the HTML5 Canvas. In this guide, you will learn how to combine these two technologies to create a real-time multiplayer game from scratch. By the end, you will have a working prototype that you can extend with your own game mechanics.
You can build a browser-based multiplayer game using WebSockets for real-time communication and Canvas for rendering. This guide covers setting up a WebSocket server, managing game state, drawing players on the canvas, and handling player input. You will end with a working two-player game loop that updates at 60 frames per second.
Why WebSockets and Canvas Work So Well Together
Building a real-time multiplayer game requires two things: a way to send messages instantly between players, and a way to draw the game world on screen. WebSockets give you the first piece. Unlike regular HTTP requests, a WebSocket connection stays open. The server can push data to clients the moment something happens. This means when one player moves, every other player sees that move in milliseconds.
Canvas gives you the second piece. It is a blank digital drawing board inside the browser. You can draw shapes, images, and text on it using JavaScript. Because Canvas is part of the browser, you do not need to install any game engine. You can render hundreds of moving objects at once, which is perfect for a multiplayer game.
Together, these two technologies let you build a game that runs entirely in the browser. No downloads, no plugins. Just a URL you can share with a friend.
Setting Up the WebSocket Server
Your WebSocket server is the brain of the game. It keeps track of connected players, validates moves, and broadcasts updates. For this guide, you will use JavaScript on the server side with the ws library. Here is how to set it up.
Step 1: Initialize your project
Create a new directory and run npm init. Then install the WebSocket library:
npm install ws
Step 2: Create the server
Create a file called server.js. This file will handle incoming connections and manage the game state.
const WebSocket = require('ws');
const server = new WebSocket.Server({ port: 8080 });

let players = {};
let playerIdCounter = 0;

server.on('connection', (socket) => {
  const playerId = playerIdCounter++;
  players[playerId] = {
    x: Math.random() * 800,
    y: Math.random() * 600,
    color: `hsl(${Math.random() * 360}, 100%, 50%)`
  };

  socket.send(JSON.stringify({
    type: 'init',
    playerId: playerId,
    players: players
  }));

  broadcast({
    type: 'playerJoined',
    playerId: playerId,
    player: players[playerId]
  });

  socket.on('message', (message) => {
    const data = JSON.parse(message);
    if (data.type === 'move') {
      players[playerId].x = data.x;
      players[playerId].y = data.y;
      broadcast({
        type: 'playerMoved',
        playerId: playerId,
        x: data.x,
        y: data.y
      });
    }
  });

  socket.on('close', () => {
    delete players[playerId];
    broadcast({ type: 'playerLeft', playerId: playerId });
  });
});

function broadcast(message) {
  const data = JSON.stringify(message);
  server.clients.forEach((client) => {
    if (client.readyState === WebSocket.readyState.OPEN) {
      client.send(data);
    }
  });
}

console.log('Server running on ws://localhost:8080');
This server does three things. It assigns each new player a unique ID and a random starting position. It listens for movement messages and broadcasts them to everyone. It removes players when they disconnect.
Expert tip: Always validate player positions on the server. A malicious client could send impossible coordinates. Clamp the x and y values to your game world boundaries before broadcasting them.
Building the Client with Canvas
The client side is where you draw the game. You will use a Canvas element to render all players. The client also connects to the WebSocket server and sends the player’s own movements.
Step 1: Create the HTML structure
<!DOCTYPE html>
<html>
<head>


</head>
<body>
  <canvas id="gameCanvas"></canvas>

</body>
</html>
Step 2: Write the client JavaScript
Create a file called client.js. This script connects to the WebSocket server, listens for updates, and draws the game.
const canvas = document.getElementById('gameCanvas');
const ctx = canvas.getContext('2d');
canvas.width = 800;
canvas.height = 600;

const ws = new WebSocket('ws://localhost:8080');
let players = {};
let myId = null;

ws.onopen = () => {
  console.log('Connected to server');
};

ws.onmessage = (event) => {
  const data = JSON.parse(event.data);

  switch (data.type) {
    case 'init':
      myId = data.playerId;
      players = data.players;
      break;
    case 'playerJoined':
      players[data.playerId] = data.player;
      break;
    case 'playerMoved':
      if (players[data.playerId]) {
        players[data.playerId].x = data.x;
        players[data.playerId].y = data.y;
      }
      break;
    case 'playerLeft':
      delete players[data.playerId];
      break;
  }
};

function gameLoop() {
  ctx.fillStyle = '#1a1a2e';
  ctx.fillRect(0, 0, canvas.width, canvas.height);

  for (let id in players) {
    const player = players[id];
    ctx.fillStyle = player.color;
    ctx.beginPath();
    ctx.arc(player.x, player.y, 15, 0, Math.PI * 2);
    ctx.fill();

    if (id === myId) {
      ctx.strokeStyle = '#ffffff';
      ctx.lineWidth = 3;
      ctx.stroke();
    }
  }

  requestAnimationFrame(gameLoop);
}

gameLoop();

document.addEventListener('keydown', (e) => {
  if (!myId) return;
  const speed = 5;
  const player = players[myId];

  switch (e.key) {
    case 'ArrowUp': player.y -= speed; break;
    case 'ArrowDown': player.y += speed; break;
    case 'ArrowLeft': player.x -= speed; break;
    case 'ArrowRight': player.x += speed; break;
  }

  ws.send(JSON.stringify({
    type: 'move',
    x: player.x,
    y: player.y
  }));
});
The client draws a dark background each frame, then loops through all known players and draws them as circles. It highlights your own player with a white outline. When you press an arrow key, the client updates the local position and sends the new coordinates to the server.
Handling Game State and Synchronization
One of the hardest parts of building a real-time multiplayer game is keeping everyone in sync. Here is a breakdown of common approaches and their tradeoffs.
| Approach | Latency | Server Load | Complexity |
|---|---|---|---|
| Authoritative server | Low | High | High |
| Client-side prediction | Low | Medium | Medium |
| Server reconciliation | Medium | Low | Low |
For a simple game, the authoritative server approach works best. The server holds the true positions of all players. Clients send their intended movements, and the server validates and broadcasts them. This prevents cheating and keeps the game fair.
If you want to reduce visible lag, you can add client-side prediction. The client assumes its movement will be accepted and draws it immediately. When the server confirms the move, the client adjusts if necessary. This makes the game feel more responsive.
Common Mistakes and How to Avoid Them
Building a real-time multiplayer game has several pitfalls. Here are the most common ones and how to handle them.
-
Not handling disconnects: Players will close their browser or lose internet. Always clean up disconnected players from your server state. Otherwise, ghosts will remain in the game world.
-
Sending too many messages: If you send a message on every single frame, you will flood the server. Instead, send movement updates at a fixed rate, like 20 times per second. The client can still render at 60 FPS by interpolating between the last two known positions.
-
Ignoring message order: WebSocket messages arrive in order, but network delays can cause a player to receive outdated positions. Use a sequence number or timestamp on each message so the client can discard old updates.
-
Forgetting to validate input: Never trust data from clients. A player could send x and y values outside the game bounds. Always clamp coordinates on the server before broadcasting them.
Extending Your Game
Once you have the basic two-player movement working, you can add more features. Here are some ideas.
-
Add a score system: Track how many times a player touches a collectible item. Broadcast the score whenever it changes.
-
Implement a simple chat: Use a separate message type for text. The server can relay chat messages to all players.
-
Create game rooms: Instead of one global game, let players create or join rooms. This requires a lobby system and room management on the server.
-
Add spectator mode: Allow players to watch a game without participating. They receive all updates but cannot send movement messages.
If you want to see how WebSockets can power other real-time applications, check out our guide on how to build a real-time chat app with WebSockets and JavaScript. The concepts overlap heavily with game development.
Why Your Game Needs a Consistent Update Loop
The game loop on the client runs at 60 frames per second using requestAnimationFrame. This is important because it separates rendering from network updates. The client draws the game state as it currently knows it, even if no new messages have arrived. This keeps the screen smooth and responsive.
On the server side, you do not need a game loop. The server is event driven. It only acts when a message arrives or a connection changes. This is efficient because the server does not waste CPU cycles on empty frames.
Testing Your Multiplayer Game
Testing a multiplayer game requires at least two clients. Open two browser windows side by side. Connect both to the same WebSocket server. You should see two circles on each canvas. Move one player with the arrow keys, and the other window should update instantly.
If you see lag or jittery movement, check these things first.
- Are both clients on the same network? Local network latency is usually under 5 milliseconds. If you are testing over the internet, expect higher latency.
- Are you sending messages too frequently? Reduce your send rate to 20 messages per second.
- Is your server code blocking? Make sure your server uses asynchronous operations. The
wslibrary handles this well by default.
Final Thoughts on Building Real-Time Multiplayer Games
Building a real-time multiplayer game with WebSockets and Canvas is one of the most rewarding projects you can tackle as a web developer. You learn networking, state management, and real-time rendering all at once. The game you built in this guide is simple, but it contains the core architecture used by professional browser games.
Start with this foundation. Add power ups, obstacles, or a scoring system. Share the URL with a friend and watch them play in real time. The skills you practiced here will apply to any real-time web application, from collaborative tools to live dashboards. For more on modern web development trends, see our article on top trends in front-end frameworks for 2026.
Now go build something fun.