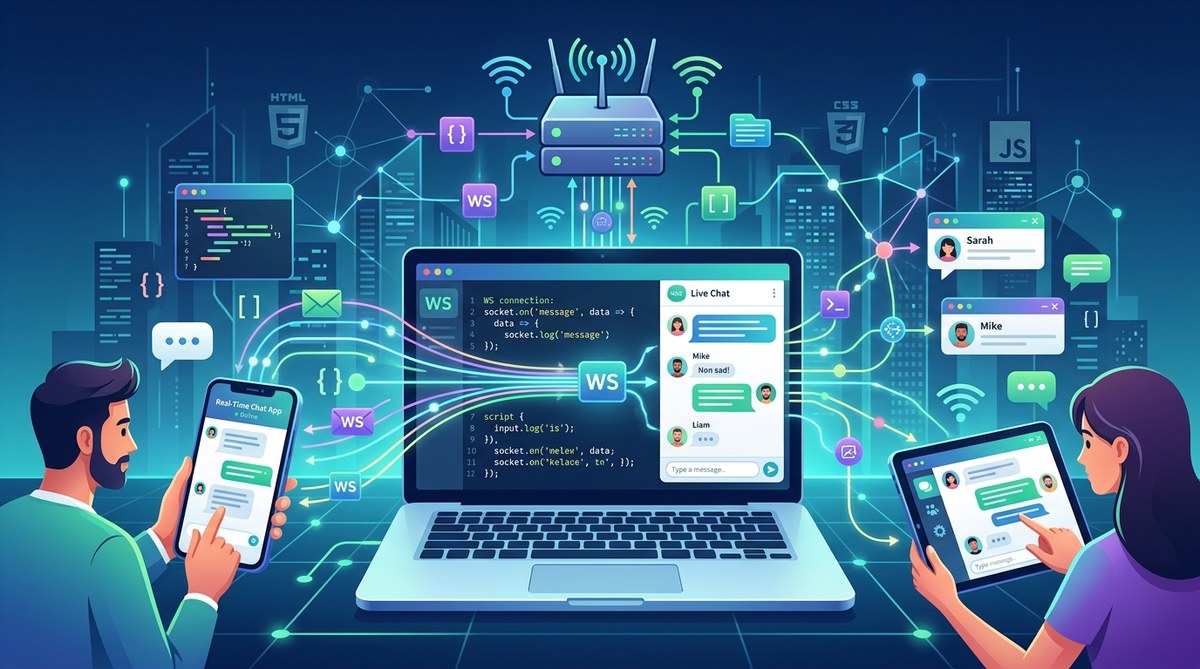
Building a real-time chat app can feel like a big leap, but the core is simpler than you think. WebSockets give you a persistent, two-way connection between a browser and a server. No polling. No repeated AJAX calls. Just a single open channel where messages fly instantly. In this guide, you will learn how to build a real-time chat app with WebSockets and JavaScript from scratch. We will use vanilla JavaScript on the front end and Node.js with the popular ws library on the back end. By the end, you will have a working chat room that handles multiple users, broadcasts messages, and runs smoothly. Let us get started.
Building a real-time chat app with WebSockets and JavaScript is a perfect way to understand bidirectional communication. You will set up a WebSocket server with Node.js, create a client that connects and sends messages, and handle broadcasting to all users. This tutorial covers the full workflow, common pitfalls, and practical tips so you can deploy your own chat application.
Why WebSockets for real-time chat
Traditional HTTP follows a request-response model. The client asks, the server answers. For a chat app, that means the client must repeatedly poll the server for new messages. This wastes bandwidth and introduces latency. WebSockets solve this by keeping a single connection open. Once established, both sides can send data at any time.
- Low latency: Messages arrive in milliseconds because there is no HTTP handshake overhead.
- Reduced overhead: One TCP connection handles all communication, not dozens of separate requests.
- Full-duplex: Both client and server can push data simultaneously.
- Native browser support: The WebSocket API is part of HTML5 and works in all modern browsers without libraries.
If you are new to the HTML5 APIs, check out our guide on master modern HTML5 features to elevate your web projects for a broader overview.
Setup and project structure
Before writing code, set up your environment. You need Node.js (v18 or later works fine) and a text editor. We will use the ws package for the server because it is lightweight and reliable. On the client side, we will use the built-in WebSocket object.
Follow these steps:
- Create a new folder for your project and navigate into it.
- Run
npm init -yto generate apackage.json. - Install the
wspackage withnpm install ws. - Create two files:
server.js(the WebSocket server) andindex.html(the chat client). - Open a terminal and start a local server to serve
index.html(for example,npx serve .or a live-server extension).
That is all the setup you need. No transpilers. No build tools.
Building the WebSocket server
The server does three things: listen for connections, handle incoming messages, and broadcast them to all other connected clients.
Open server.js and add this code:
const WebSocket = require('ws');
const http = require('http');

// Optional: create an HTTP server to handle health checks
const server = http.createServer((req, res) => {
  res.writeHead(200, { 'Content-Type': 'text/plain' });
  res.end('Chat server is running\n');
});

const wss = new WebSocket.Server({ server });

wss.on('connection', (ws) => {
  console.log('New client connected');

  ws.on('message', (data) => {
    // Broadcast the message to every other client
    wss.clients.forEach((client) => {
      if (client !== ws && client.readyState === WebSocket.OPEN) {
        client.send(data);
      }
    });
  });

  ws.on('close', () => {
    console.log('Client disconnected');
  });
});

const PORT = 3000;
server.listen(PORT, () => {
  console.log(`Server listening on port ${PORT}`);
});
This server uses an HTTP server as a base. The WebSocket.Server attaches to it. When a message arrives, we loop through all connected clients and send the data to everyone except the sender. That way each user sees messages from others but not their own echoed back.
Creating the chat client
Now open index.html and build the client interface. We will keep it minimal: an input field, a send button, and a message list.
<!DOCTYPE html>
<html lang="en">
<head>


</head>
<body>
  <h2>Chat Room</h2>
  <div id="messages"></div>
  <div id="inputArea">
    <input type="text" id="input" placeholder="Type your message..." autofocus>
    <button id="send">Send</button>
  </div>

</body>
</html>
The client creates a WebSocket connection to the server. When a message arrives, it appends the text to the list and scrolls down. Sending is as simple as calling ws.send().
Handling multiple users and broadcasting
Expert tip: Broadcasting to all clients is straightforward, but be careful not to send back to the sender unless you want an echo. In our server we skip the sender. For private messages, you would need to track user IDs and target specific connections.
To make the chat more useful, you can add a username. Modify the client to prompt for a name, then send a JSON object instead of plain text. The server can parse the JSON and broadcast it. For example:
// Client sends
ws.send(JSON.stringify({ user: username, text: message }));

// Server broadcasts (no parsing needed, just forward)
wss.clients.forEach((client) => {
  if (client !== ws && client.readyState === WebSocket.OPEN) {
    client.send(data); // data is already a string
  }
});

// Client renders
ws.addEventListener('message', (event) => {
  const { user, text } = JSON.parse(event.data);
  msg.innerHTML = `<strong>${user}:</strong> ${text}`;
});
Common mistakes and how to fix them
Even simple WebSocket projects can trip you up. Here is a table of frequent issues and solutions.
| Mistake | Why it causes trouble | How to fix |
|---|---|---|
| Not handling connection errors | Connection fails silently, user sees nothing | Add ws.onerror / ws.addEventListener('error', ...) and show a user-friendly message. |
| Forgetting to parse JSON | Server receives string “[object Object]” | Always JSON.stringify before sending and JSON.parse on receiving. |
| Broadcasting to the sender | Sender sees double messages | Filter out the sender client in the broadcast loop. |
Using ws on port 3000 but client expects wss |
Connection fails due to mixed content or wrong scheme | Use ws:// for local development; for production use wss:// over HTTPS. |
| Sending binary data by accident | Text messages become garbled | Ensure client sends strings or use ws.binaryType = 'blob' explicitly. |
For more tips on avoiding performance pitfalls, read our article on how to optimize web performance with modern JavaScript techniques.
Next steps and further learning
You now have a working real-time chat app. But this is just the beginning. You can extend it with:
- Usernames and typing indicators.
- Private messaging between users.
- Persistence using a database like Redis or SQLite.
- Rooms or channels for group conversations.
WebSockets are also the foundation for collaborative tools, live notifications, and multiplayer games. To see how they fit into the broader landscape of web technologies, check out our list of 10 essential web APIs every developer should know in 2026.
Build, test, and share your chat
Go ahead and run your server with node server.js. Open index.html in a browser (or serve it via live server). Open a second browser tab to see real-time messages flow. Feel the satisfaction of building something that connects people in real time. Once you have the basics down, try adding features and deploying it to a cloud platform. The skills you learn here will serve you in countless projects. Now start coding.